But enough about the drama, how about some therapeutic crafting?A few weeks ago the lovely girls at Mama Tortilla asked me if I wanted to participate in their super cute pillow tutorial week, they enclosed a few pics of some pillow ideas. As soon as I saw this one I knew I had to have it...
 But do you know what makes that ruffly goodness even better? Making it for free with nothing more than my sewing machine & an old bedsheet. Sigh. Makes a girl feel good.
 What a pretty bed I have, right? Let me take a minute to zoom out...

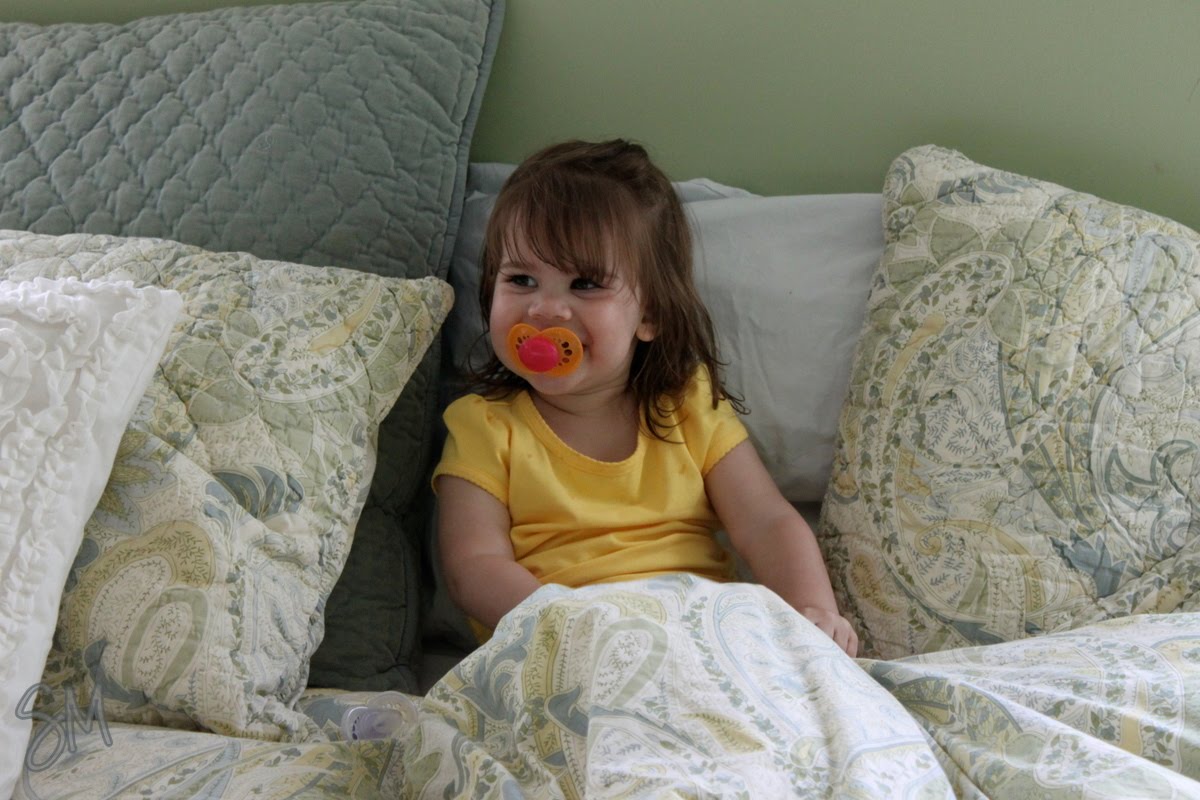 It's all smoke & mirrors people. My home is just like yours, a wonderfully destructive toddler tearing everything apart as soon as I make it. So don't be fooled by the pretty pics you see, you never know what mess is just off camera. But let's continue with the pretty stuff...
 I chose to make mine from a bedsheet because a.) I had one & b.) whenever you're creating long lengths of ruffles it requires a lot of fabric & then it can get pricey quick. You'll also need a pillow insert & a sewing machine.
The measurements are going to be based on the size of the pillow insert you're using (mine is 18"x18", I'll include my measurements throughout in parenthesis) so instead of just giving you numbers I'm going to show you how to figure out your own. It requires a bit of math but don't worry, I seriously suck at math & was able to handle this pretty well.
First you'll need to cut out the basic pillowcase pieces. One big square for the front (19" x 19") & two rectangles that will make the envelope opening in the back. The length of these rectangles is going to be the same as the length of the pillow + 1" for seam allowance (19"), for the width you'll want to take 1/2 of your width + 4" so the pieces will overlap. (13"). Also I was sure to line up my fabric so that the "envelope" seam was already part of the sheet's finished hem, if you're not using a sheet now would be a good time to hem that side of the rectangle
 Set these aside, now it's time for tedious part, cutting & creating the ruffled strips. Get your good scissors/rotary cutter along with a ruler & a calculator if you're me. A good basic rule of thumb for creating ruffles is that you'll want to use a piece of fabric that is twice the length of what you want the finished ruffle to be. When I measure the total length of what I want my biggest square ruffle row to be it's 72", that means I'll need a strip of fabric to be 144" to make the ruffle. (See why a bedsheet sounded like a good idea??) Even with the twin sheet I didn't have 144" to make one long strip but that's ok, I could make two 72" strips.
So first ruffle step, cut out two 1"x72" strips.
 Now we have to finish the edge of the strips so they won't go fray crazy on us. I used my serger to create a sort of rolled edge but on a regular sewing machine you could either do a type of overlock stitch that wraps the edge or you could just do a small zig-zag stitch as close to the edge as possible & let the fabric fray up to that stitch line. I think this could actually look really cool, kind of a shabby chic look. So go ahead & finish your edges. This is gonna take you a minute so have a sweet treat to get you through.
 Mmmm...jelly belly's...sorry, I'm like a doggie lately, easily distracted by food. (and shiny objects)
Take your beautifully seamed strips & start ruffling. There are a few ways to ruffle...
One, you could set your machine to your longest stitch setting & stitch down the center. After, hold onto your bobbin thread with one hand & pull your fabric up along your top thread with the other. Then pin & stitch the ruffle to your piece. Pros of this method- you can adjust the gathers to get them perfect. Cons- after you stitch the ruffle on you'll have to go back & pull out the ruffling thread. I hate extra steps.
Two, I've read lots of tutorials where people set their tension to the tightest setting & their width to the longest. Then when they stitch down the center of the strip it automatically gathers the ruffle as you go. After you would pin & stitch the ruffle to your piece like the previous method. Pros- your machine does the ruffling for you. Cons- I hate touching my tension, it makes me nervous. Also you'll still have to get rid of that extra thread.
Three- this is how I ruffle because I'm impatient. I gather the fabric under the needle as I go. Pro- saves you the extra step of having to pin & stitch your ruffled strip as well as no pulling out the extra stitch. Con- you kind of just have to wing it, there's no pinning & seeing how it looks before you stitch it to the piece. Here's a pic of what it looks like as I'm doing it...
 (EW! Please pardon the dirty nails, we spent the day at the zoo & no matter how many times I wash them they still look dirty. Yick!)
Whichever method you use you'll want to place your ruffle 1" down & 1" in from the edge of your pillow top piece. I figure this will give me a 1/4" seam allowance & will put the ruffle 3/4" in from the seam once the pillow is all done. Start attaching your ruffle by folding the short edge in on itself, this is also how you'll want to connect pieces if your ruffle runs out. By starting on a fold it disguises the ends so they look like part of a ruffle...

Whew, one row done!
 Now that you have your 1st square row of ruffles done you can take new measurements for the length of the next inner row of ruffles. Just remember, the strip needs to be twice that length. If you need to make that out of several strips, no biggie. Repeat the entire process for as many rows of ruffles as you'd like. Or like in my case for as long as the naptime lasts. (:
Once your ruffled front piece is finished you're ready for the last step, attaching the front square to the back rectangles. Pin the 3 pieces right sides together with the 2 back rectangles overlapping several inches.

 Finally stitch around the entire outside of the pillow using a 1/2" seam allowance. Turn the piece right side out (a chopstick is a great tool for pushing out the corners) & stuff your pillow! Sit back & admire your mad skillz.
Thanks so much Leslie & Melissa for letting me join your fun pillow party! PLEASE go check out the other beautiful pillow tutorials that they've posted this week, I'm definitely going to be making Obsessively Stitching's Smocked Pillow, lovely!

Those pillows are GORGEOUS! My daughter needs them! I am going to have to give them a shot. Eeek!
ReplyDeleteI will be featuring these on my blog in the morning!
Loving the pillows! They are gorgeous......although not as gorgeous as the Samster! ;) I have been looking at ruffly goodness all over blogland lately, and have yet to attempt ruffles on my own. I think I will use your technique and give it a try! :)
ReplyDeleteI LOVE using sheets in sewing projects (I even did a whole post about it: http://craftedition.blogspot.com/2010/03/oh-sheets.html) - you can find them for super cheap at garage sales and you get a tons of usable yardage!! In all my use of sheets, I've yet to do a pillow - but you've inspired me! - LOVE it!! - -
ReplyDeleteI so relate to your "internet friend" comment. But seriously, I moved to a new town two years ago and have found blogs so comforting... not that I'm not making efforts to make real friends, but it remains hard...I love your tutorial, now if only I could learn the basics of my sewing machine like winding the bobbin and threading the needle. (What can I say, I lost my manual in the move...yikes!)
ReplyDeleteLove, love, LOVE this! I cannot wait to give it a shot! Thanks, Natasha!
ReplyDeleteFabulous Natasha! And I have to tell you that whenever I see ANYTHING with ruffles I am reminded of you. Sad, pathetic or good? I will let you decide. :-) I am glad that you are so loved by your readers and blogging buddies! Have a great night!
ReplyDeleteTotally cute, I love ruffles! I can see this in a variety of colors & prints for a little girl's room. Great job!
ReplyDeleteHow FUN! You are the ruffle queen. One of these days I'm gonna have to try my hand at some ruffles. Those pillows are great! Ooooh, I'm envisioning those ruffles starting in a dark color and progressing through lighter shades as you get closer to the middle.
ReplyDeleteBeautiful pillows! Love them!
ReplyDeleteGah! These are soooo lovely! I'll take two, please.
ReplyDelete-Adrianna
This is more than gorgeous! I'm in love!
ReplyDeleteI love that pillow!!! I better go find me a sheet to cut up!
ReplyDeleteI luvs free! I have a few flat sheets lying around.
ReplyDeletePretty pillows!!! You have soo much talent!
ReplyDeleteCongrats on the baby! I "heard" the news the other day.
My 15 year old has been making ruffled tanks for her and her friends...they love them. It is much cheaper to make them!!
I wish you all the best of luck on the new additon to your family.
Couldn't happen to a sweeter mom or a cuter baby like Sam!
I am having a book giveaway on my blog..Anonymous by Teresa Moody...It's about a woman who gets stalked on her blog...scary huh?
Hope you stop by my blog!
Thanks and again, congrats!
www.eighthelpinghands.blogspot.com
while i totally love your pillows, i also really love your sheets and duvet cover/comforter! where did you get them??
ReplyDeleteCould you use a serger to hem the sides, cut the excess fabric, and use it to make the ruffle if you have a ruffle/gathering foot? That might cut down on the time it takes to hem every side of the ruffle strips and then ruffle all of them.
ReplyDeleteI decided to feature this beauty at somedaycrafts.blogspot.com!!!!
ReplyDeleteLove the pillow, I think that would look perfect in my guest room I'm working on! had to laugh about the "internet friends" comment, haha, I feel like bloggers are my friends too:-) have a great day! ( I'm a big nursing supporter-- I have a 3 mo old right now:-))
ReplyDeleteLoving that!!
ReplyDeletewhat a great tutorial..thanks for the step by step! I love it!
ReplyDeleteI think I screamed when I saw this. I am so making this tonight. The only question is which sheet must be sacrificed for the good of the bed's decorative needs...
ReplyDeletethese are adorable! I think they will get me to pull out my sewing machine this weekend!
ReplyDeleteI had once thought my decor needed to be more gender neutral so my poor husband would feel comfortable. Nevermind. I need ruffles. LOTS OF RUFFLES.
ReplyDeleteOH MY WORD! I love it!
ReplyDeleteThank you so much for the tutorial! It TOTALLY helped!
I'm gonna try this method when I sew a ruffle pillow next!
Shelley
I just featured your great tutorial on my blog...Everything Etsy! I Love this pillow!
ReplyDelete~Kim
These are so so beautiful!! I'm completely hooked on ruffles these days :)
ReplyDeleteCome on over and link up at my Tuesday TALENT SHOW if you like :)
http://myhouseofgiggles.blogspot.com
Thank you for this!!! I made the pillow but with a spiral instead. Love love love it!!!
ReplyDeleteWould love to add this tutorial to the vintage sheet blog http://vintageshetts.blogspot.com let me know if you are ok with that!
ReplyDeleteThis is beautiful! I'm all about the ruffles lately and this just makes me giddy! Can I ask where you got your bedding? I love the pattern and it's exactly what I've been looking for...
ReplyDeletei love these ideas you have
ReplyDeleteHi, Thanks for this information. I came to know that some manufacturers do use fire retardants while manufacturing the bed sheets. Are there any eco friendly bed sheets available?
ReplyDelete- Annabella
I never thought of myself as a "ruffle" kind of gal, but you've got me hooked! These would be fun to do with vintage flowered bedsheets, no? Great tute, and you can bet your life I'll be ruffling a la method number three...
ReplyDeleteLOVE, LOVE, LOVE! This will be perfect for the room redo I'm doing for my teen daughter! Thanks!
ReplyDeletei just finished making this and i LOVE LOVE LOVE it!! i am a beginner sew-er so ruffles are actually just the right thing to make - they don't have to be perfect! thanks for these instructions, and i'll be checking back often!
ReplyDeleteYou have such a great sense of making best item from any type of material and from anything. This bedsheet come pillow is really awesome and no one can say that it is made from bedsheet. It is looks like it is made by an expert designer.
ReplyDeleteyoga pants
These pillows are beautiful! I have just the place for one! Thanks so much for sharing your great tutorial! Found you through Be Different Act Normal!
ReplyDeleteI like your bedding set. Where did you get it?
ReplyDeleteIt's OLLLLLLD school Pottery Barn. Probably about 4 years old, but I still love it. If you're looking for pretty bedding with blues though Martha Stewart has some nice ones at Macy's lately. (:
ReplyDelete(no Martha does NOT send me any checks for mentioning her, although I certainly think she could handle it. C'mon Marth, help a crafter out)
I just bumped into your blog, it's God sent awesome...great ruffled pillow tutorials ,esp. because pillows are way costly and this is homely meaningful, I'd say with my boys grown out spring stripped long sleved dresshirts"hmm crispy fresh pillows:) thank you very much
ReplyDeleteHi, I was just thinking that I wanted to cover some boring drapes with ruffles, so I googled info on ruffles, and here I am. I have a couple questions for you. 1. Would ruffles on drapes be way too much of an undertaking? If so, no need to answer my next question, but 2. Is there a rule to go by for how long your strips should be vs. how long the material is you're sewing it to? Did that make sense? Thank you!!
ReplyDeleteHi Kari!
ReplyDeleteKudos to you for doing ruffled drapes! Land of Nod sells some & everytime I see them I always think about how much I'd love to make some. (If only I had the time...sighhh)
I totally think you could do it, please email me if you do, I'd love to post about it! (samstermommy@gmail.com)
The rule I go by as far as length of strips goes is to make your strip twice the length of your fabric that you're applying it to. When you ruffle it, it will shrink by 50%. (roughly)
Hope that helps!
Thanks for your help! One more question: do you know how wide I can go for the strips without it getting droopy?
ReplyDeleteJust love this tutorial! Thank you so much for sharing....I'm adding it to my project make it list on my blog!
ReplyDeleteCheers!
This comment has been removed by a blog administrator.
ReplyDeleteThese are adorable and so feminine!! And I love your way of ruffling... gonna be using this. :) Thanks! I really like your blog!
ReplyDelete